Marble, granite, and quartz are all beautiful stones that are not only gorgeous but functional in kitchen and baths everywhere. These stones are made to be installed in areas of high use, and many are highly durable. Over time, as with everything in our homes, stone will begin to show signs of wear and tear. Some of this is expected and may not even be noticeable. Scratches in countertops are not a totally uncommon occurrence, sometimes happening due to everyday use, other times as a result of an accident. More severe incidences may result in a crack in the stone. Issues such as scratches and cracks can be repaired, either by the homeowner, or in some more severe cases a professional.
When anything abrasive, such as sand or certain cleaners rub down on your stone, it can scratch and eventually dull the finish of the countertop. The harder the stone, the less likely it is to get scratched. Similar to etching, softer stones such as marble and travertine are more susceptible to scratches, than say granite.
You can remove light scratches from your stone surface by buffing the area. If the scratch is deeper than surface level, you will likely need to recruit professional help to restore the stone surface.
Another method for fixing scratches is to use nail polish. First clean the area thoroughly, then fill in any gaps by applying clear nail polish over these areas repeatedly until they are filled up entirely. This will give you an even finish. Allow to dry overnight and apply additional coats if necessary. You may need to scrape the excess with a razor blade to clean. Mineral Spirits can also be used to help clean the surface.
How do you know? And does it matter?
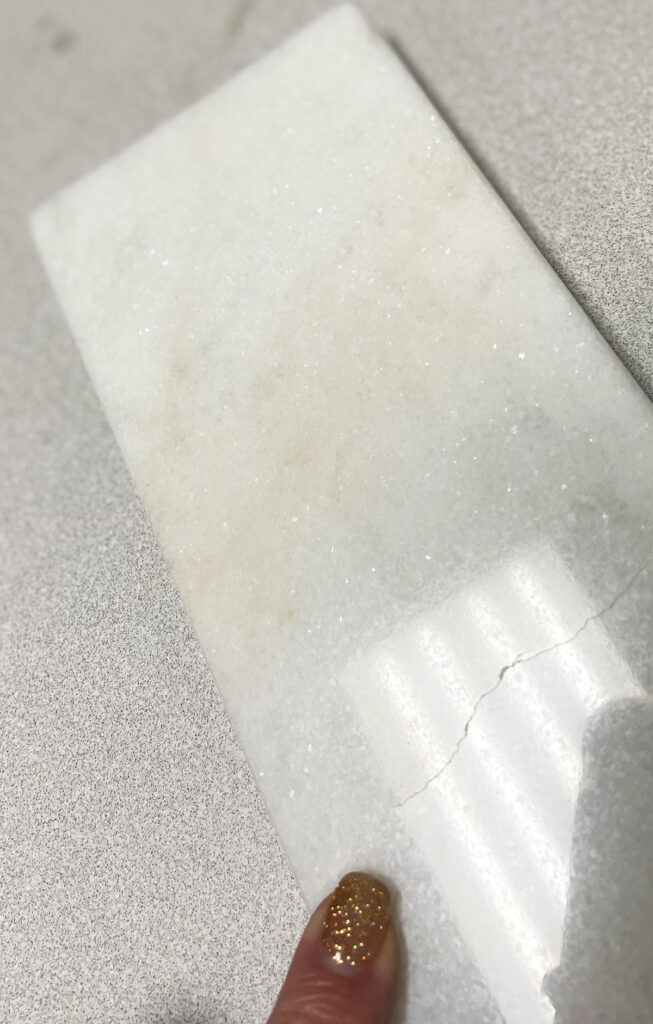
Fissures are naturally occurring in many types of stone. Defined by the American Geological Institute as an “extensive Crack, break, or fracture in the rock…”, the term is used in the stone industry to describe a visible separation along the crystalline boundaries naturally occurring in the stone. A fissure typically does not go through the entire depth of the stone, although in some cases it can.
Although countertops are very durable, some surfaces are more susceptible to cracks than others. Cracks may be caused by sudden changes in temperature, which is why you want to keep trivets and heat protectors on hand to avoid placing hot pots or pans directly on your countertop surface. In addition, some quartz countertops can be sensitive to extreme cold as well, so you should avoid placing a bag of ice on your countertop for example.
You should avoid tossing keys, silverware, or other hard objects on your countertops. Another potential hazard is using knives without a cutting board and cutting directly on the countertop surface.
Tools needed:
Step #1: Gather Your Supplies
The most common solution for a crack, scratch, or chip is to fill it with epoxy adhesive. Epoxy is a thermoplastic adhesive material. You should be able to find this from your local hardware store, or online. You may even find a countertop repair kit which would have natural stone pigments and come in the form of a paste for you to mold and shape to fill any gaps in your countertop surface.
If you have a light colored countertop, you can even use superglue for your repair.
This step is optional, but you can use a diamond tipped drill bit (cost $15-20) to grind a bit of dust from an area of your countertop that isn’t visible, such as underneath, and mix that into the adhesive to help match your stone.
Step #2: Clean Your Countertop
Using mild dish soap and water, mineral spirits, ammonia free windex, or another non abrasive cleaner you will want to thoroughly clean your countertop to remove any dust, grime, or grease that is left on it to ensure you are starting with a clean work surface. You may want to use a toothbrush to get any grease or grime out of the crack. Once you are sure the crack area is cleaned out, wipe the entire area with a clean rag.
Step #3: Prepare Your Work Area
Once the countertop is clean, border the crack with masking tape to help prevent the liquid adhesive from seeping into areas where it shouldn’t. This will ensure a more seamless application of the adhesive.
Step #4: Mix Your Epoxy
Epoxy is a two-part adhesive, follow the instructions on your epoxy to mix the two parts appropriately. If you are able to shave some of your original material (from the underside of the countertop or a sample) you can mix that with the epoxy to ensure the best color match possible.
Step #5: Begin Your Repair
Using your syringe, draw out some mixed epoxy and push it into the crack until it oozes out slightly. You can also use a craft stick or plastic spoon to really get the epoxy into the crack. Use a putty knife or other sharp object to smooth out the epoxy and ensure no air bubbles. Apply thin layers of your epoxy until it’s flush with the rest of the countertop. The drying time will vary based on the type of adhesive you are using, generally 24 hours to fully cure.
Step #6: Finish Your Repair
Once the epoxy has thoroughly dried, you can buff off any remaining residue using fine-grit sandpaper. You will want to sand in sequence starting with 120-grit paper, then 220-grit, and finally 400-grit. You can also use ultra-fine Scotch-Brite pads in the last stages of sanding. Polish the entire top to remove scratches and help the patched crack blend in with the surrounding countertop.
If you have a very fine crack or a gouge in your stone, you may be able to fix it with Superglue. Superglue is a cyanoacrylate adhesive that dries quickly and forms a strong bond. You will clean the area thoroughly to begin, then apply a small amount of superglue to the crack or gouge. Similar to the epoxy, you will need to leave this to dry and cure for at least 24 hours. Once it is completely dry, you can hand-sand the area with a 220-grit abrasive sandpaper, then follow with a 400-grit paper. Finally, buff the area with an ultra-fine grade Scotch-Brite pad.
If the crack is large enough or in a difficult location, the best option may be to contact a professional to either fix the countertop or replace it all together. There are professional seaming kits that fabricators use, or even the option to route out the damaged area and glue in a patch. These methods use materials and tools that most of us do-it-yourselfers don’t own or have access to. If a completely invisible repair is a must for you, or if the damage is extensive, this might be the time to call in a professional countertop fabricator.